 Metaobjectify
How to Import Metaobjects with Metaobjectify
Metaobjectify is built to make bulk metaobject work simple: export your data, edit the CSV, and import it back into Shopify. The easiest way to avoid import errors is to start with a CSV exported from Metaobjectify. That exported file shows you exactly which columns, handles, and values your import file should contain.
Before You Start
Metaobjectify includes 3 free imports so you can try the bulk import workflow. After that, your available plan is based on your Shopify store plan.
If you are importing a metaobject for the first time, don't create the CSV structure from scratch. Export the metaobject first. This gives you the correct structure to follow.
Step 1: Select Your Metaobject and Export a CSV
Open Metaobjectify and select the metaobject you want to work with. Then export its entries as a CSV file.
The exported CSV is your template. It helps you understand exactly what Metaobjectify expects when you import data.
- See the column names you need.
- See how existing handles are formatted.
- See the structure and fields used by that metaobject.
- Use the exported file as the starting point for your bulk update.
Step 2: Open the CSV and Edit Your Data
Open the exported CSV in Excel, Google Sheets, or another spreadsheet editor. You can update existing entries or add new rows.
Keep the CSV structure intact. Do not randomly rename, remove, or rearrange the columns. The exported file shows you the structure that should be used for importing.
For example, if the exported file contains a handle column, keep that column and follow the same format when adding or editing rows. The same applies to the other fields in your metaobject.
Step 3: Save the CSV
Once you have finished editing, save the file again as a CSV. Before importing, quickly check that the file still contains the expected columns and that the values are in the correct columns.
Step 4: Import the CSV
Return to Metaobjectify, select the same metaobject you exported earlier, and choose the CSV import option. Upload the edited CSV and start the import.
Because your CSV was based on an export from the same metaobject, you already have a clear reference for the structure Metaobjectify expects.
Step 5: Check Your Import Results
After the import finishes, check the results shown by Metaobjectify. You can see information such as:
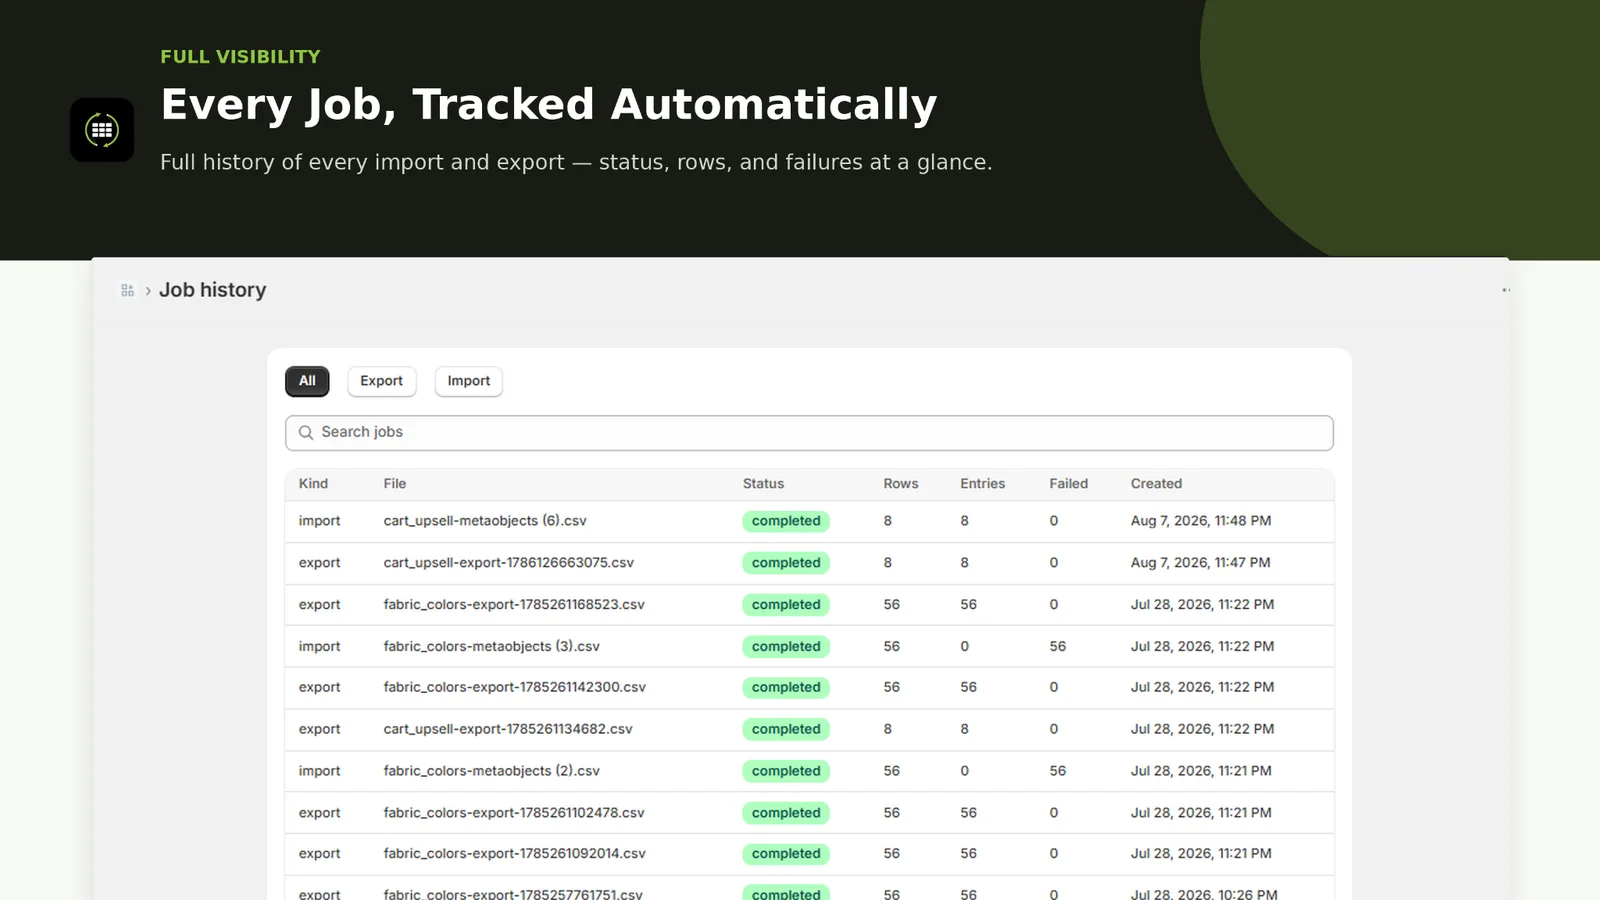
- Total rows processed.
- Successful rows imported successfully.
- Failed rows that could not be imported.
- Error details, such as a duplicate handle or another invalid value.
If some rows fail, use the error information to identify and fix those rows in your CSV, then import the corrected file again.
Step 6: Review Jobs & Analytics
Go to the Jobs page to review your import and export jobs. This gives you a history of your jobs and helps you understand what happened during each bulk operation.
Common Import Problem: Duplicate Handles
One common reason for failed rows is a duplicate handle. If two rows use the same handle when the handle needs to be unique, those rows may fail during import.
When adding new entries, check the handles in your CSV before importing. When updating existing entries, use the handles from the exported CSV as your reference rather than creating a completely new format.
The Safest Workflow
If you remember only one thing, use this workflow:
Start by exporting the metaobject you want to work with. The exported CSV is the best reference for understanding the exact structure your import should follow. Keeping that structure consistent can help you avoid unnecessary import errors.
If Metaobjectify fits into your Shopify workflow and saves you time managing metaobjects in bulk, we'd love to hear about your experience. Your review helps other Shopify merchants discover the app and helps us keep improving it.
Leave a review